Showing posts with label tutorial. Show all posts

Thursday, July 30, 2020

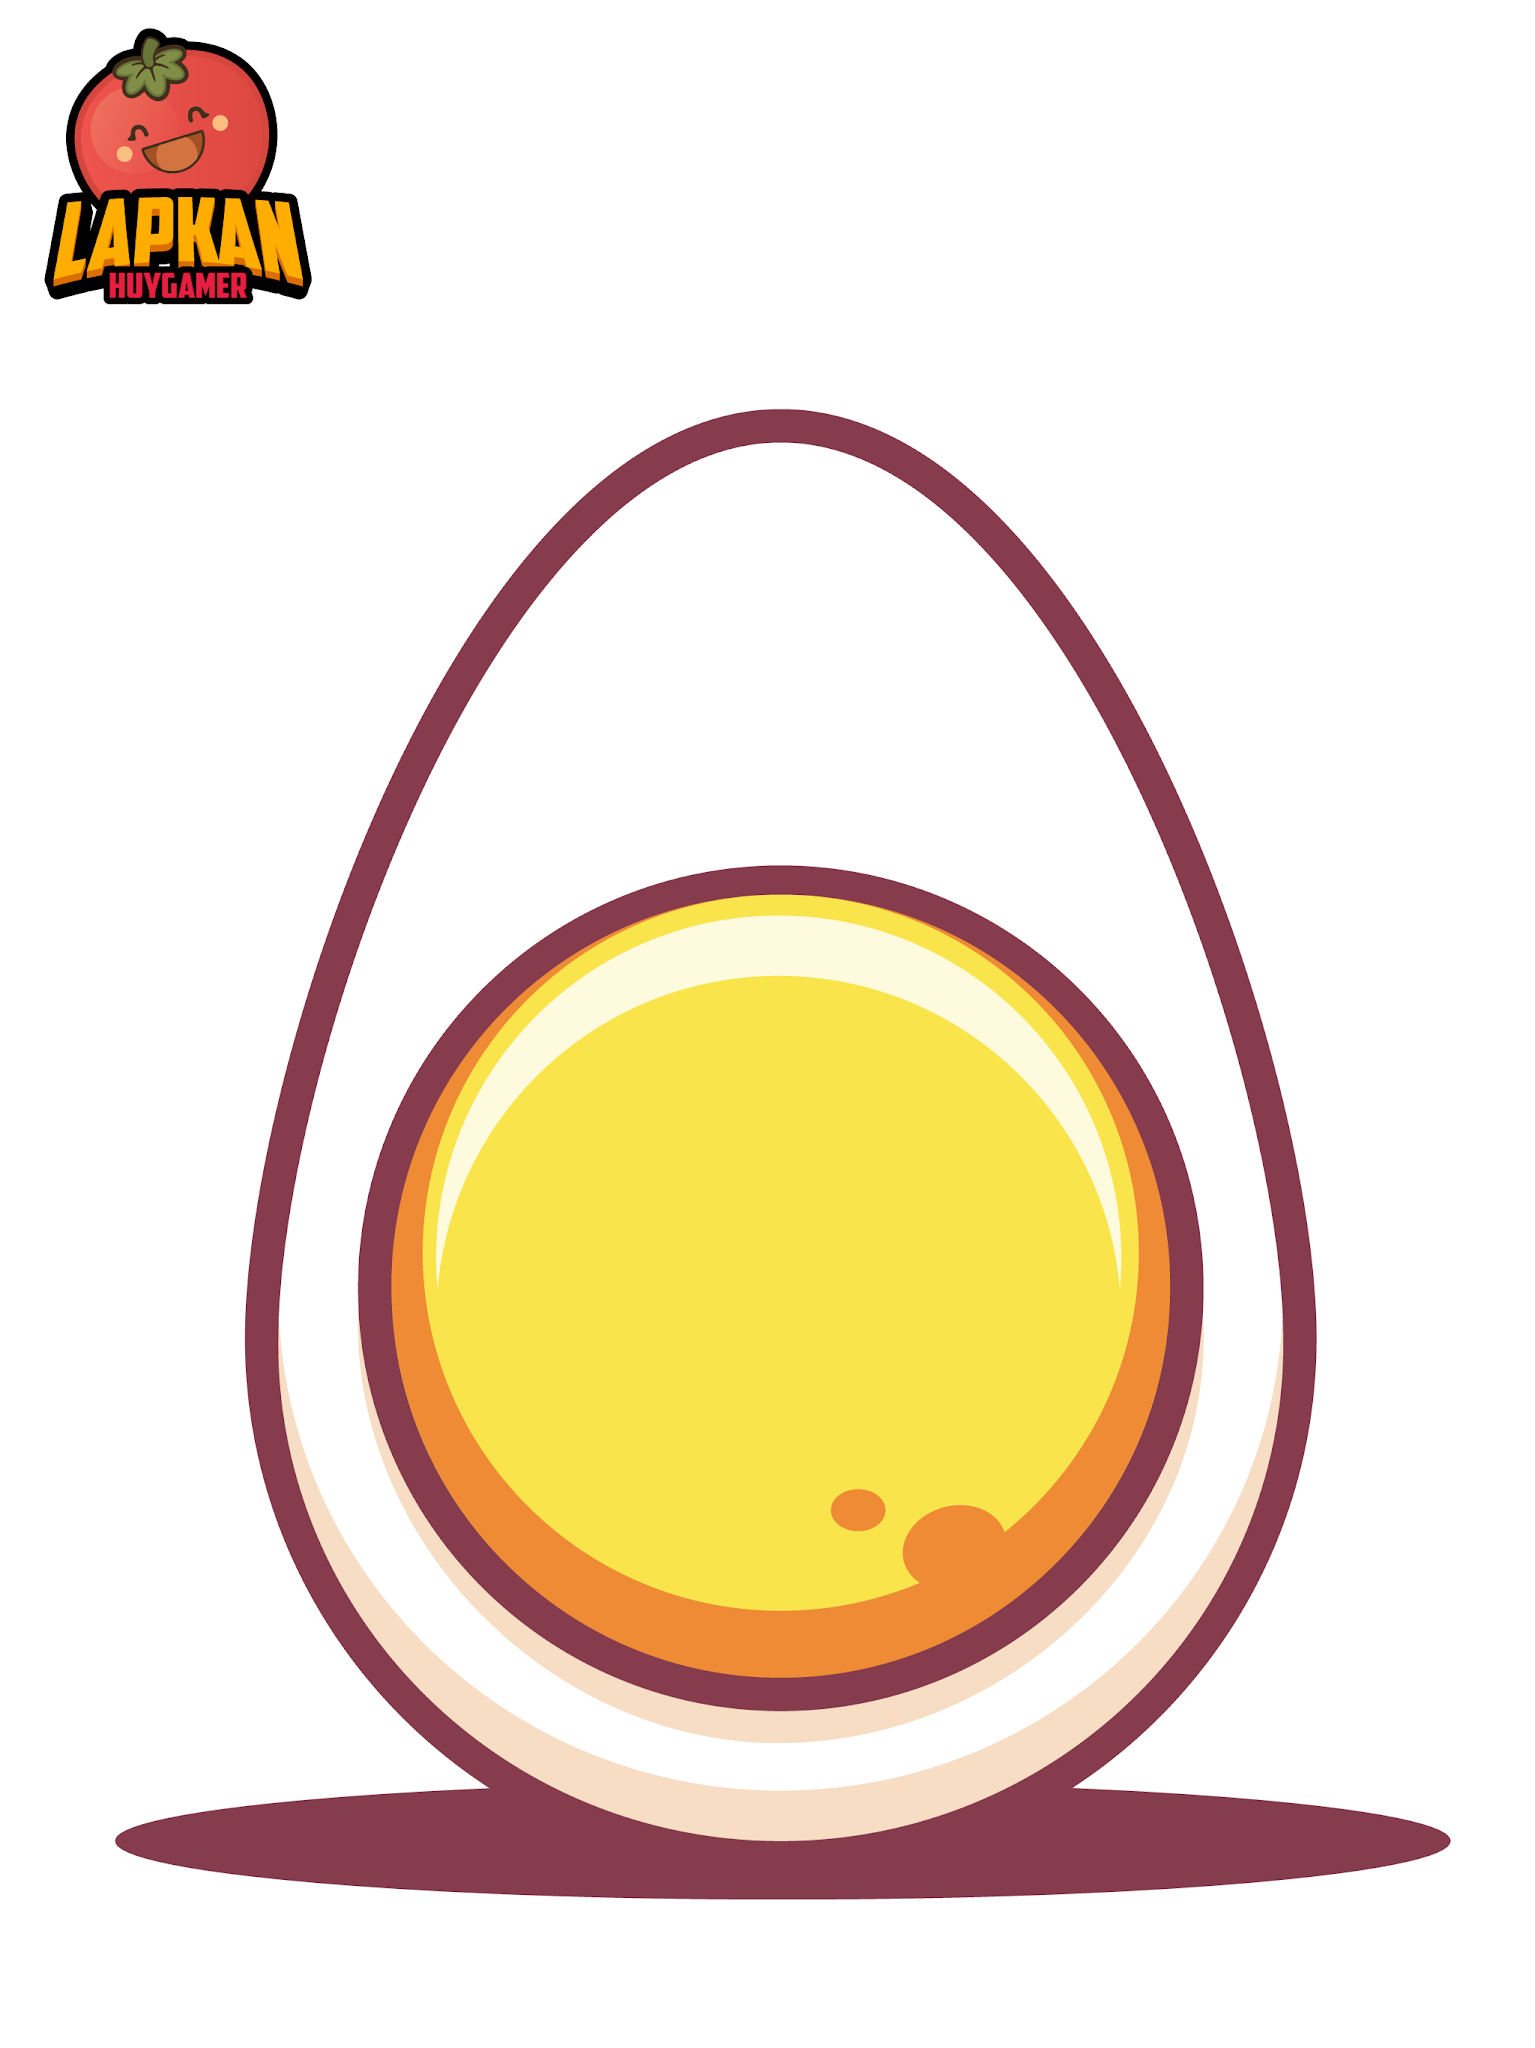
Illustrator Product: Boiler Egg

As the tutorial on Youtube Channel:

https://www.youtube.com/watch?v=FlOKb--M0Jk 

JPG Image
Vector Tutorial

Link: Download

Sunday, May 5, 2019

Hyper Casual Game Tutorial

A great tutorial from Awesome Tuts:


https://www.youtube.com/watch?v=gc5a_Z6M4hs

Asset download at:

https://learn.awesometuts.com/courses/199187/lectures/9141041

Description:
Player control a character try to move down to avoid a death from the spike at the top

+ Have 5 different platforms can interact with player:
- Standard platform
- Spike platform
- Speed platform with left and right
- Breakable platform

+ What you learn:
- Custom the screen resource in Unity
- Create platform with different type with prefabs
- Create wave that random platform
- Control player: Movement and Bounding
* Movement control Input and move the player
* Bound will avoid player move out of the box
- Using V shortcut to move exactly fix with other Object
- Add function to any frame of an animation (like do in 0.3 seconds)

Tuesday, March 6, 2018

Swift Tutorial Animation the Knight in RPG game

In this tutorial, we will learn:
+ Create animation with texture atlases
+ Change the direction the bear faces based on the moving location
+ Make the ninja move to the touch location
+ Knight will stand and move

# Create the Swift Project
To start the tutorial, you need to create a Swift Project.
Start up you Xcode, select File\New\Project… (if there is no project), choose the iOS/Game Template and click on Next Button.

Game Project with Sprite Kit

Enter LapKanAnimationKnight for the Product Name.
Choose Swift for Language (Important)
Sprite Kit for Game Technology.
Next to create Project.

=> We have a ready project to start.

# Download the asset: Link

These images from Tokegameart, they are really good for RPG Games, so if you see this is good assets, buy from them, they are royal free.
Dark Knight Atlas


# Texture Atlases:

Copy these asset to Project.
Drag and drop these file to the project.

# Make simple animation first:
Create the variable for code:

private var knight = SKSpriteNode()
 private var knightWalkingFrames: [SKTexture] = []
 private var knightIdleFrames: [SKTexture] = []

# Setting up the Texture Atlas:
Now, we write the code to set the texture for each action
Action for walking from 0 -> 23.
Action for standing from 0 -> 17.
If you have more actions, you need to write more code for each action.

func buildKnight() {
        let knightAnimatedAtlas = SKTextureAtlas(named: "DarkKnight")
     
        // Walking Frames
        var walkingFrames: [SKTexture] = []
        for i in 0...23 {
            let knightTextureName = String(format: "Walking_%03d", arguments: [i])
            walkingFrames.append(knightAnimatedAtlas.textureNamed(knightTextureName))
        }
        knightWalkingFrames = walkingFrames
     
        // Idle Frames
        var idleFrames: [SKTexture] = []
        for i in 0...17 {
            let knightTextureName = String(format: "Idle_%03d", arguments: [i])
            idleFrames.append(knightAnimatedAtlas.textureNamed(knightTextureName))
        }
        knightIdleFrames = idleFrames
}

So we have the function buildNinja, now the only thing we need to create a ninja is use

func animatedKnight() {
        knight.run(SKAction.repeatForever(SKAction.animate(with: knightWalkingFrames, timePerFrame: 0.03, resize: false, restore: true)), withKey: "walkingInPlaceKnight")
}

# Make Stand Frames:
After the knight go to the goal point, we remove all action and set the action for standing.
func knightStand() {
        knight.removeAllActions()
        knight.run(SKAction.repeatForever(SKAction.animate(with: knightIdleFrames, timePerFrame: 0.03, resize: false, restore: true)), withKey: "idleInPlaceKnight")
}

# Change Animation Facing Direction
override func touchesEnded(_ touches: Set<UITouch>, with event: UIEvent?) {
        for t in touches { self.touchUp(atPoint: t.location(in: self)) }
   
        let touch = touches.first!
        let location = touch.location(in: self)
   
        moveKnight(location: location)
}

# Make Knight Moving:

func moveKnight(location: CGPoint) {
        if knight.action(forKey: "idleInPlaceKnight") != nil {
            knight.removeAction(forKey: "idleInPlaceKnight")
        }
   
        var multiplierForDirection: CGFloat
   
        let knightSpeed = frame.size.width / 3.0
   
        let moveDifference = CGPoint(x: location.x - knight.position.x, y: location.y - knight.position.y)
        let distanceToMove = sqrt(moveDifference.x * moveDifference.x + moveDifference.y * moveDifference.y)
   
        let moveDuration = distanceToMove / knightSpeed
   
        if moveDifference.x < 0 {
            multiplierForDirection = -1.0
        } else {
            multiplierForDirection = 1.0
        }
   
        knight.xScale = abs(knight.xScale) * multiplierForDirection
   
        if knight.action(forKey: "walkingInPlaceKnight") == nil {
            animatedKnight()
        }
   
        let moveAction = SKAction.move(to: location, duration: (TimeInterval(moveDuration)))
        let doneAction = SKAction.run( {
          [weak self] in self?.knightStand()
        })
   
        let moveActionWithDone = SKAction.sequence([moveAction, doneAction])
        knight.run(moveActionWithDone, withKey: "knightMoving")
}


Full Code Done: Link

Wednesday, March 30, 2016

Input Text with Sprite Kit

Not all the time, player touch on something on the screen. We need to input name or some text to talk. 


This is how you can input the text with the default keyboard in IOS.

In Header File:


Catch Touch Event: 

 Start to Edit Text
 Change Text with Input


Link: Download